With the jailbreak community once again reveling in delight after the release of the latest jailbreak that provides an untethered experience across the board on iOS the expectant update and release of the iPhone Dev Team’s software-based Ultrasn0w unlock has finally come to fruition. For a lot of users, being jailbroken is only half the battle, with the ultimate goal being able to unlock their iPhone for use on all networks. Due to the intricacies involved in unlocking iOS devices through software, this version of Ultrasn0w doesn’t come with any additional baseband support, but serves to unlock the modem firmware: 01.59.00, 04.26.08, 05.11.07, 05.13.01, 05.12.01 and 06.15.00.
If you are unsure as to what baseband your iPhone is currently running, you can check this by heading over to Settings > General > About and then viewing the Modem Firmware
version number. If you are running iOS 5.1.1 with a compatible baseband
(via Redsn0w/PwnageTool or Sn0wbreeze) then follow the steps below to
unlock using the latest version of Ultrasn0w.
Step 1: Before users can take advantage of the software-based
Ultrasn0w unlock, the device must be jailbroken. The first step in the
process is to jailbreak iOS 5.1.1 device with older baseband preserved via a custom firmware built using either the latest version of Redsn0w/PwnageTool or Sn0wbreeze.Step 2: When the jailbreak process has been completed, the Cydia icon will be present on the home screen. Launch Cydia and wait for all data to reload from the default repositories. Step 3: Cydia provides content to users that are hosted in specific repositories. Due to the fact that Ultrasn0w is provided by the iPhone Dev Team, it is hosted on one of the default repos that come pre-installed with Cydia, meaning no additional repository needs to be added. Select the ‘Search’ option from bottom navigation bar and type in ‘Ultrasn0w’ before hitting |
||
|
Step One Press to launch Cydia Installer from your SpringBoard. 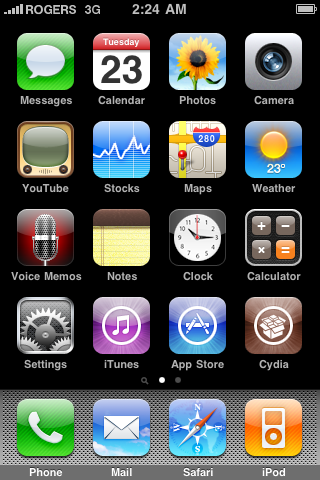 Step Two Press to select the Manage tab at the bottom of the screen. 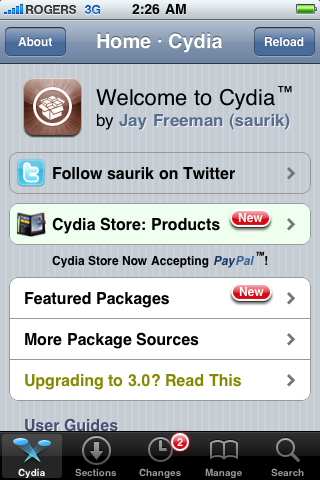 Step Three Press to select the large Sources button 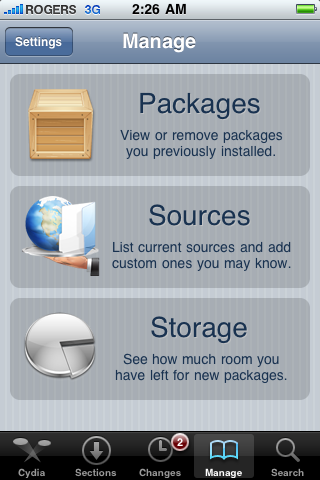 Step Four If the ultrasn0w repo is not present press the Edit button at the top right of the screen. Otherwise, skip to Step Nine. 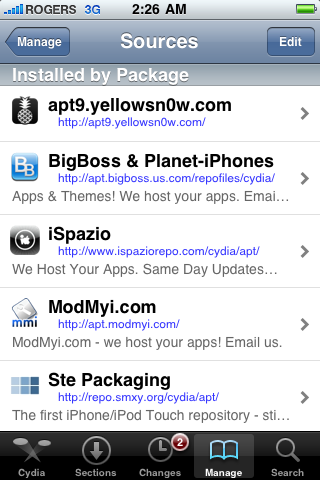 Step Five Press the Add button at the top left of the screen.  Step Six Enter http://repo666.ultrasn0w.com/ as the source url and press the Add Source button. 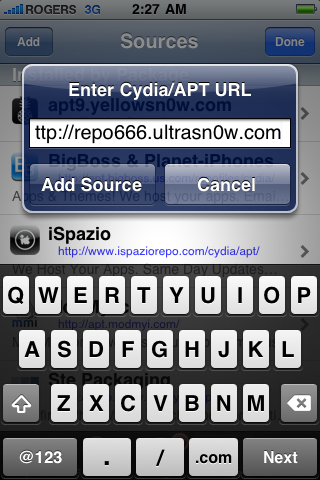 Step Seven Once the source has been added press the large Return to Cydia button.  Step Eight Press the Done button at the top right of the screen. 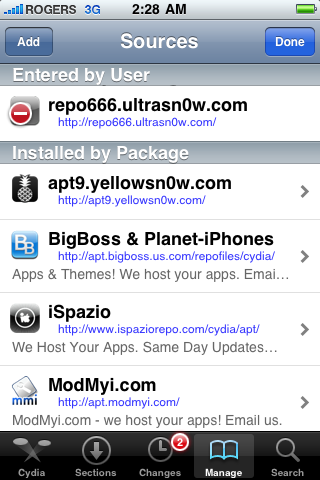 Step Nine Press to select repo666.ultrasn0w.com from the list of user entered sources. 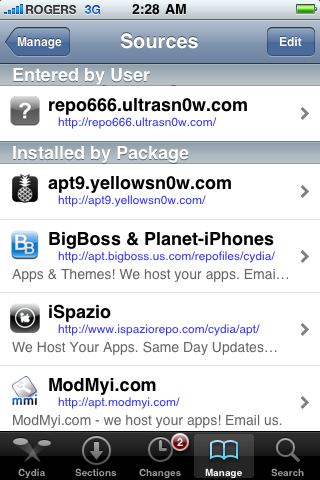 Step Ten Press to select ultrasn0w from the list of packages  Step Eleven Press the Install button at the top right of the screen.  Step Twelve Press the Confirm button at the top right of the screen.  Step Thirteen After installation completes successfully press the large Restart Springboard button.  Step Fourteen You should now be able to insert the SIM of your choice!  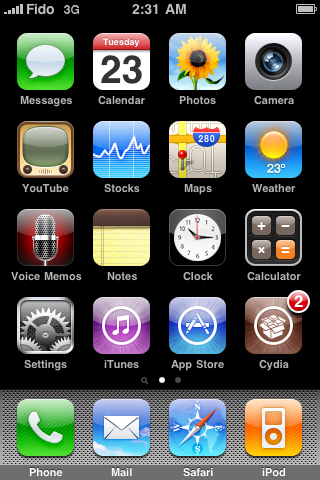 ***THANKS: A big thank you to all the members of the iPhone Dev-Team for all their hard work! It is much appreciated by all. | ||
About unlocking sri lanka unlocking sri lanka is dedicated to providing the fastest, painless and most affordable solutions for smartphone and smart device.
Monday, July 30, 2012
How to Unlock the iPhone 4, 3GS, 3G Using UltraSn0w
Subscribe to:
Post Comments (Atom)
No comments:
Post a Comment